Grant Endgame access to execute select Looker queries
Use the instructions below to enable the Looker integration in Endgame. Once enabled, Endgame will query your Looker data once per day and include Looker insights in your Endagme chats.
Connecting to Looker requires that the connecting user is a Looker admin.
1
Access integrations
Log into Endgame and navigate to the integrations page.
Looker connection
2
Add Looker client details
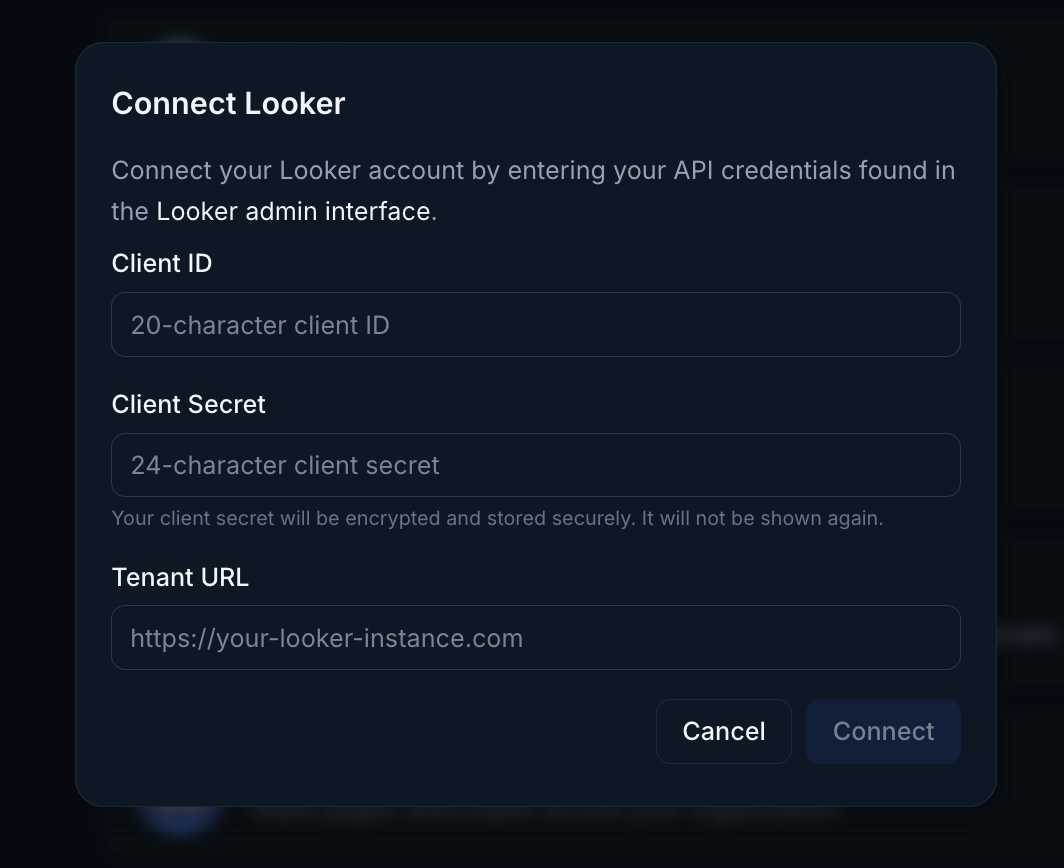
On the integrations page, click Connect for Looker. This will open the Looker connection modal in Endgame.Within Looker:
Click Admin in the left side menu
Click Users
Click your own name
Scroll down to the API Keys section and click Edit Keys
Click New API Key
Client ID: Copy and save this value
Client Secret: Copy and save this immediately - it will only be shown once
Your Tenant URL is your Looker instance URL (the domain you use to access Looker), such as: https://your-company.looker.com
Connection modal
3
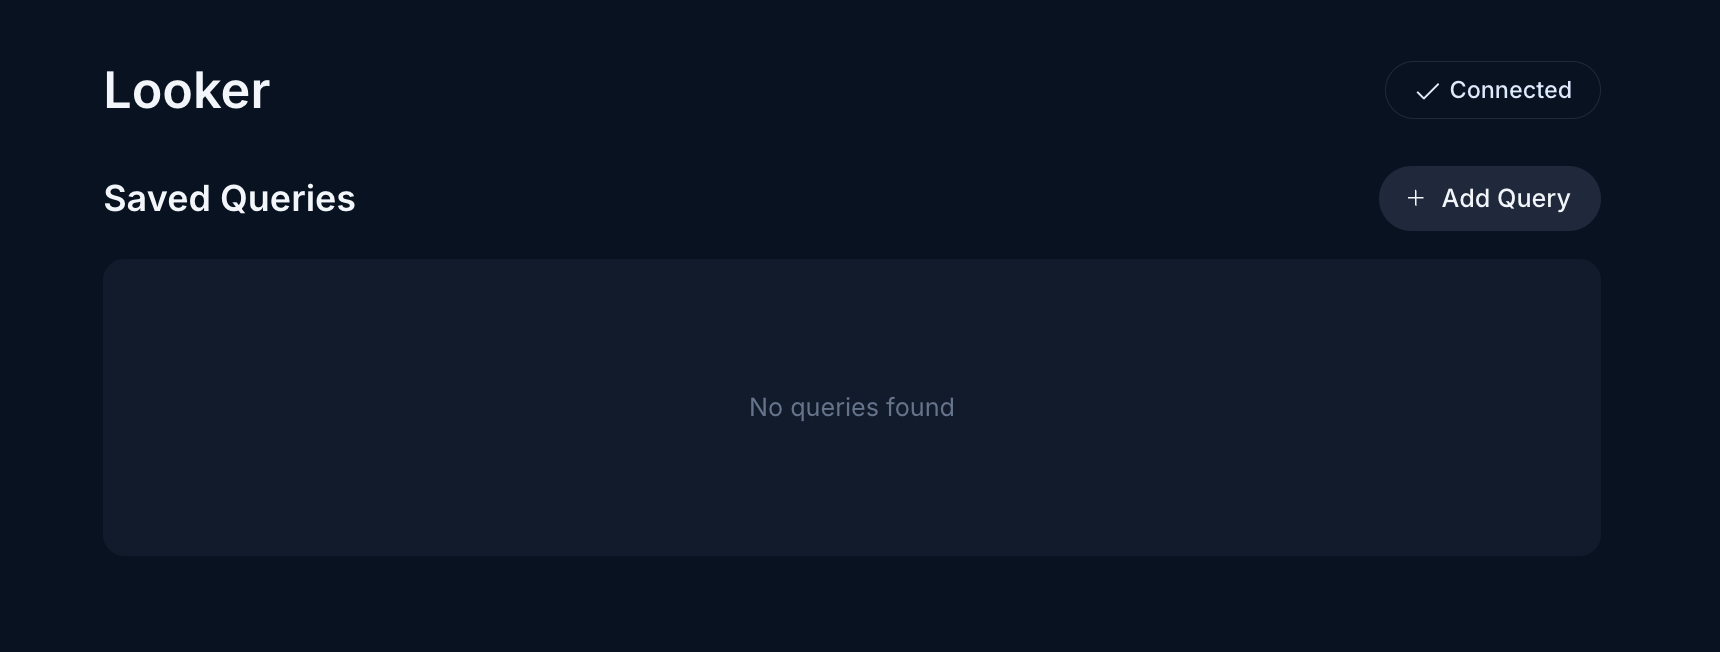
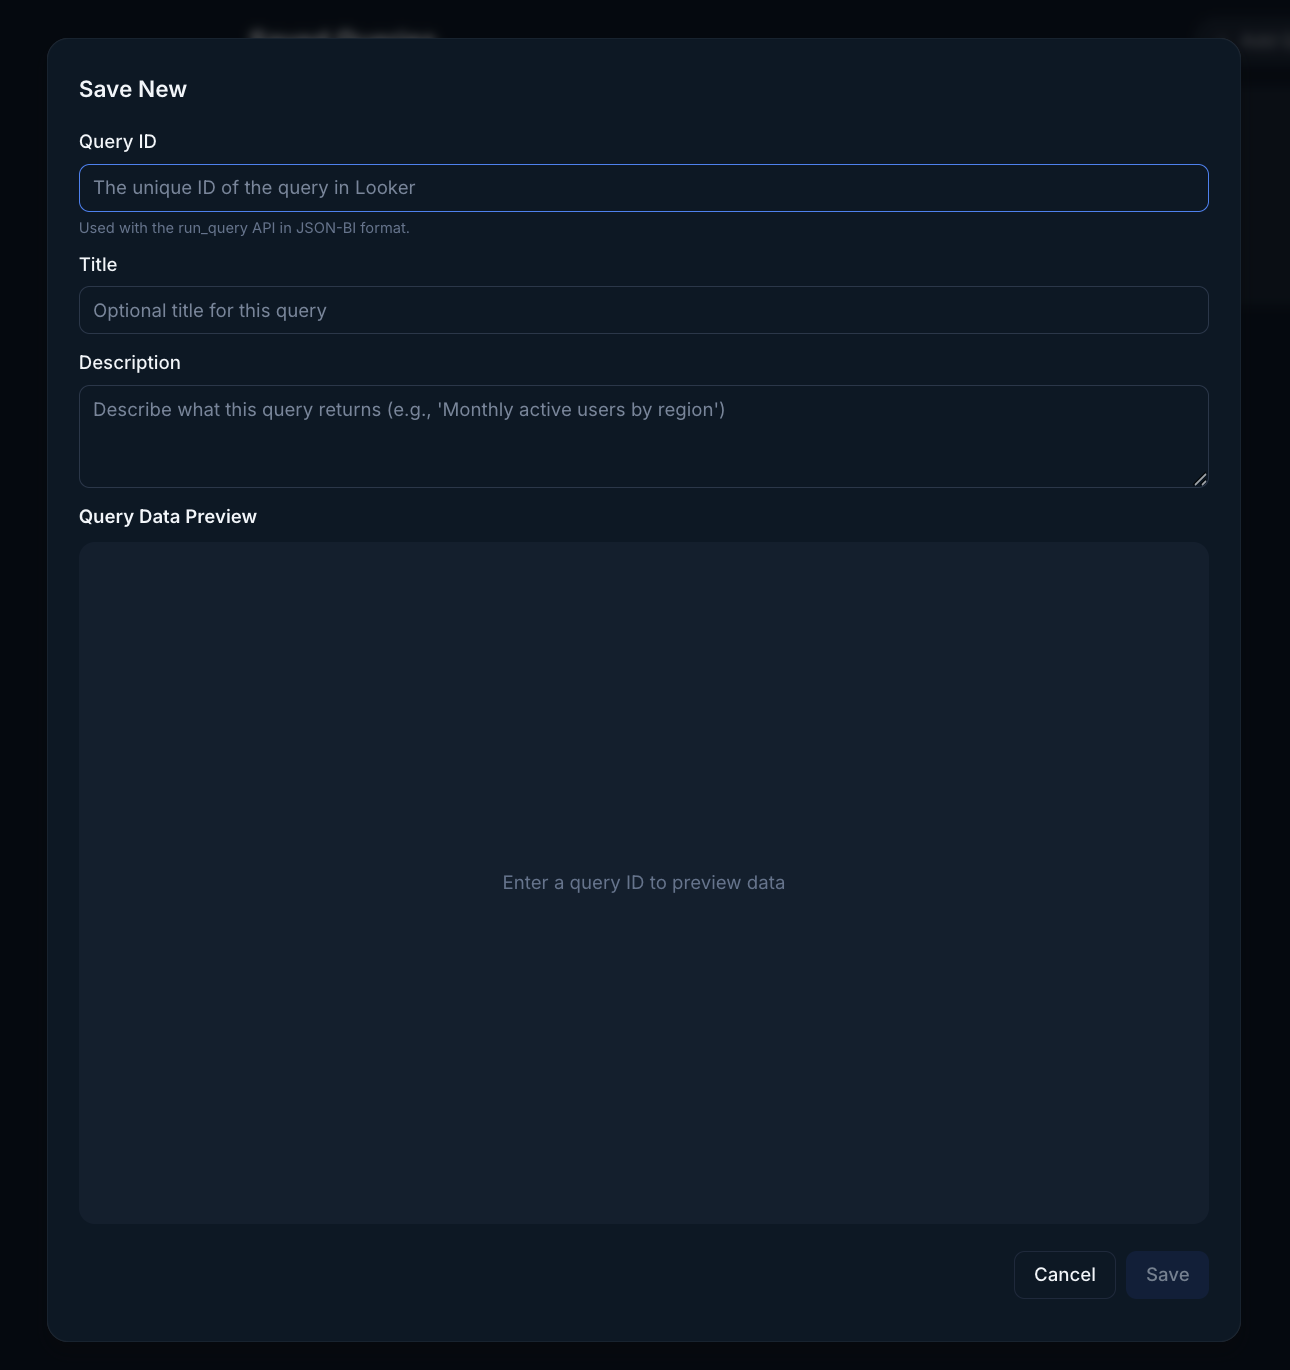
Add Looker queries
Once your client details have been added, you’ll be routed to the Looker management page where you can see existing queries.Click on the Add Query button in the top right corner. Navigate to the explorer view for the Looker data you wish for Endgame to ingest. Click on the gear icon in the top right of the screen, then Share. Copy everything after the last ”/” in the url from the Short URL and paste it into Endgame. Once you enter a valid Query ID, you will see a preview of the first 10 rows of the query. Once saved, a initial ingest of the query data will be initiated.It is helpful to add a Title and Description for not only data analysis, but also for managing your queries. Users can delete a saved query at anytime by hovering over the query and clicking on the trash icon.
Looker query list
Looker query connection
Because of their nature, Looker queries are assumed to be applicable at an
organization level, relevant to many accounts. They are not account specific.