Implementation Guide · Module 1 of 9 · ~5 minutes
Pre-flight checklist
The connecting user (or API Integration User) needs read access to all fields on the following Salesforce objects:- Account
- User
- Lead
- Contact
- Opportunity
- Task
- Event
- RecordType
- OpportunityLineItem
- OpportunityContactRole
- Campaign
- CampaignMember
- Note
- OpportunityHistory
Quick Setup
Authenticate
Using the link in the invite email you received from Endgame, authenticate using Google or Salesforce.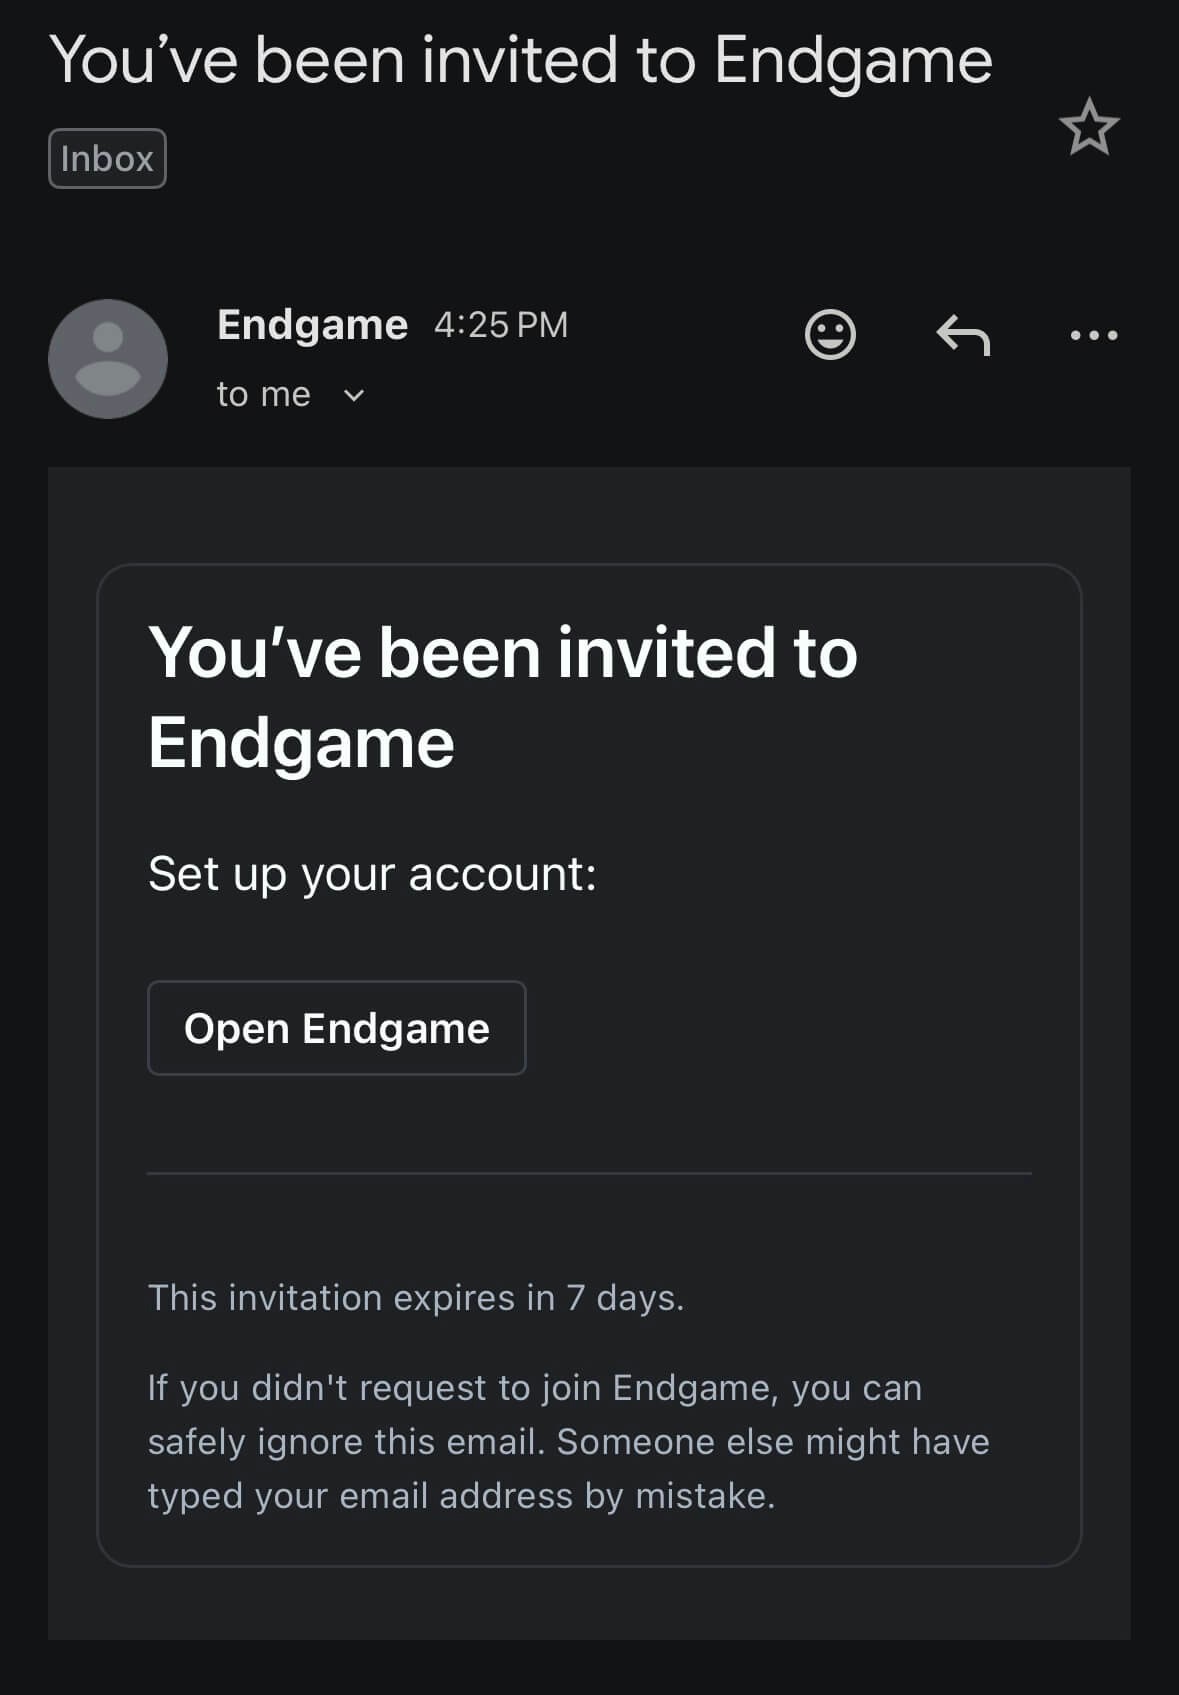
Connect Salesforce
From the welcome view, click to Connect Salesforce and authenticate with integration user credentials. All Endgame users will have access to all the data ingested for the integration user.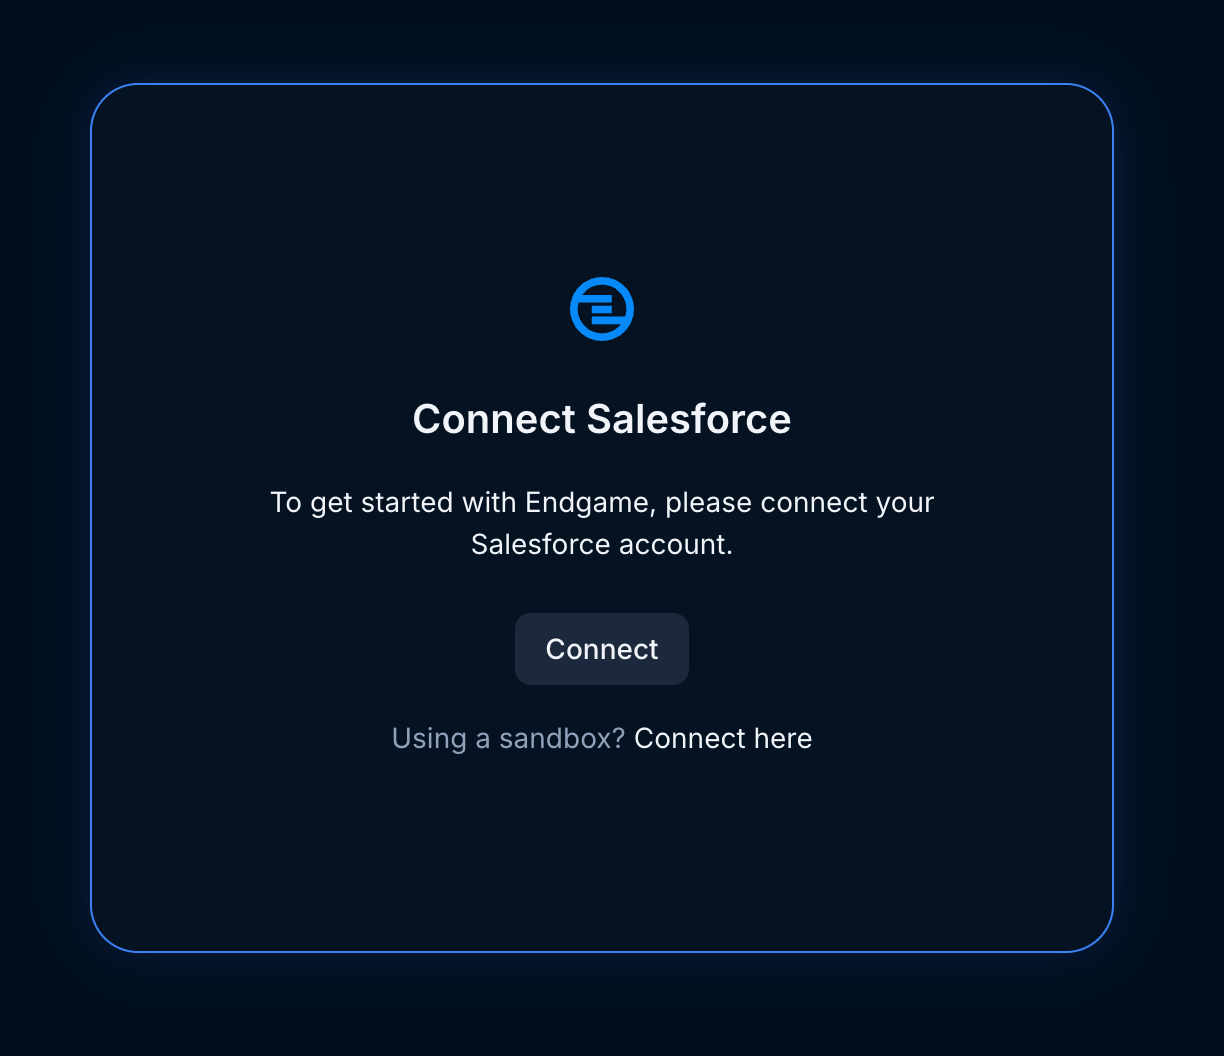
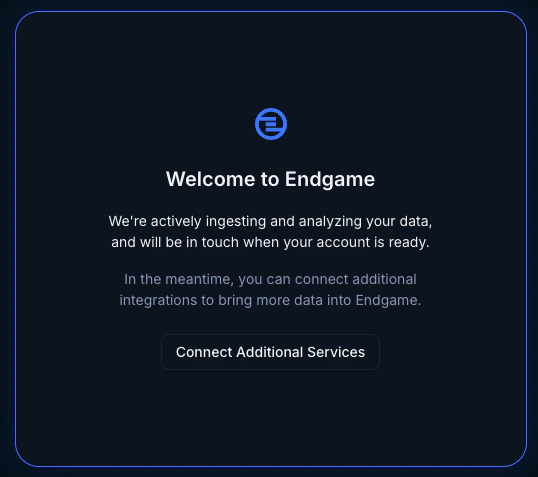
What happens next?
Once you have things connected, Endgame will automatically start ingesting your Salesforce data. This can take some time, and our team will reach out when it’s ready.Data ingestion typically takes a day or two, depending on the size of your Salesforce instance. The Endgame team will be in touch when your data is ready.
Previous Module
Overview
Next Module
Connect Transcripts